Hello there! Welcome to my first blog post! My name is Jack, and you can find out more about me here. In this post, I share how I got from a random idea to the blog that you are viewing on your screen now. I will share how I settled on the tech stack I’m using now, and the lovely struggles that came with it. Hopefully fellow students and aspiring programmers will find this post, and this blog as a whole, helpful to them in some way! Let’s gooooo 🏎️💨
The Idea
My blog was born following a phone call I had with a relative in the CS industry. He taught me a crash course in HTML when I was eight, and has been a great mentor even into my college career. When talking about the challenging landscape of internships, and what makes for an interesting interview, he mentioned that one of his favorite things to read are blogs. As I learn more about cybersecurity through my classes, I let my curiosity driven questions go unanswered. I wanted to create something that not only challenged my programming skills, but also served as a place to teach others about things I’m passionate about. Not to sound cliche, but I really felt a full circle moment after this phone call and knew I wanted to bring one of these ideas to life.
My Assistant(s):
Thinking past the blog, I knew I wanted my posts to be about Generative AI. I decided to incorporate AI into the web development process, not only to boost my learning, but to see if GenAI would lead my project down a dangerous path. The model I used for the majority of my development was Google’s Gemini 3 Pro.
Prior to this blog, I truly had zero knowledge on building an application. I reached out to my fellow classmates and peers to gauge what they used when implementing their own projects. YouTube also served as a helpful resource for more detailed explanations. This guide from Lama Dev was a good introduction to Hugo.
Creating a Project Folder
I hadn’t been exposed to Git in my coursework yet, but I found it pretty simple to pick up the basics. If you are not familiar, Git is a platform that lets you store your project folders and files in a remote repository. As the author, you or your team members can make and track changes to this repository as needed. Other devices can also pull copies of these files from this repository, like your laptop or your web hosting service. GeeksforGeeks has a good writeup here.
To get my project started, I made a directory on my laptop and instructed git to initialize this directory into a remote repository.
mkdir jackmorgan-blog
cd jackmorgan-blog
git init
Choosing the Stack:
It became very clear to me early on that there is a LOT of technology out there for web development.
The easiest route is to use a drag and drop style website like Wix or Squarespace. I wanted to learn web development by hand, which gives me greater control over my website.
In my courses, I learned to make a basic website using basic vanilla HTML/CSS. While this was good for the basics, I found it to be a very tedious process. With a site containing multiple pages, oftentimes you must manually update sections of code between files. Since this is a blog, adding new posts would quickly become a lot of work.
This is where I learned about Hugo. When I build my website, Hugo will apply one template of HTML/CSS/JS to all of the pages on my site. After designing the layout once, I am free to write my posts using Markdown. When I rebuild the site, Hugo will use this Markdown file to build a shiny new HTML page complete with all of my styling.
Project Layout:
When prompted, Gemini will give us this nice diagram of my project folder.
jackmorgan-blog/
├── assets/
│   └── css/
│       └── main.css
├── content/
│   ├── posts/
│   │   └── building-liquid-glass.md
│   └── about.md
├── layouts/
│   ├── _default/
│   │   ├── baseof.html
│   │   ├── list.html
│   │   └── single.html
│   └── index.html
├── static/
│   ├── avatar.jpg
│   └── js/
├── themes/
├── config.toml
├── tailwind.config.js
└── netlify.toml
In a future post, I may share some lessons learned when using Gemini for web development. The full source code is also available on my Github if you are interested.
The coding…
In the beginning of the project, Gemini took the project from 0-100 in under an hour. I was honestly shocked at how quickly the website was coming together. But of course, in typical LLM fashion, things did not stay smooth for long.
When prompted to go with a modern, “liquid glass” theme, and given parameters to only use Tailwind CSS and minimal JS, Gemini whipped up a very nice start to the website.
Again, this was done in under a hour. However, I was still skeptical of Gemini’s work. Especially since I had no prior experience with web development. I took this opportunity to quiz Gemini on its work and try to understand how different pieces of the project worked together.
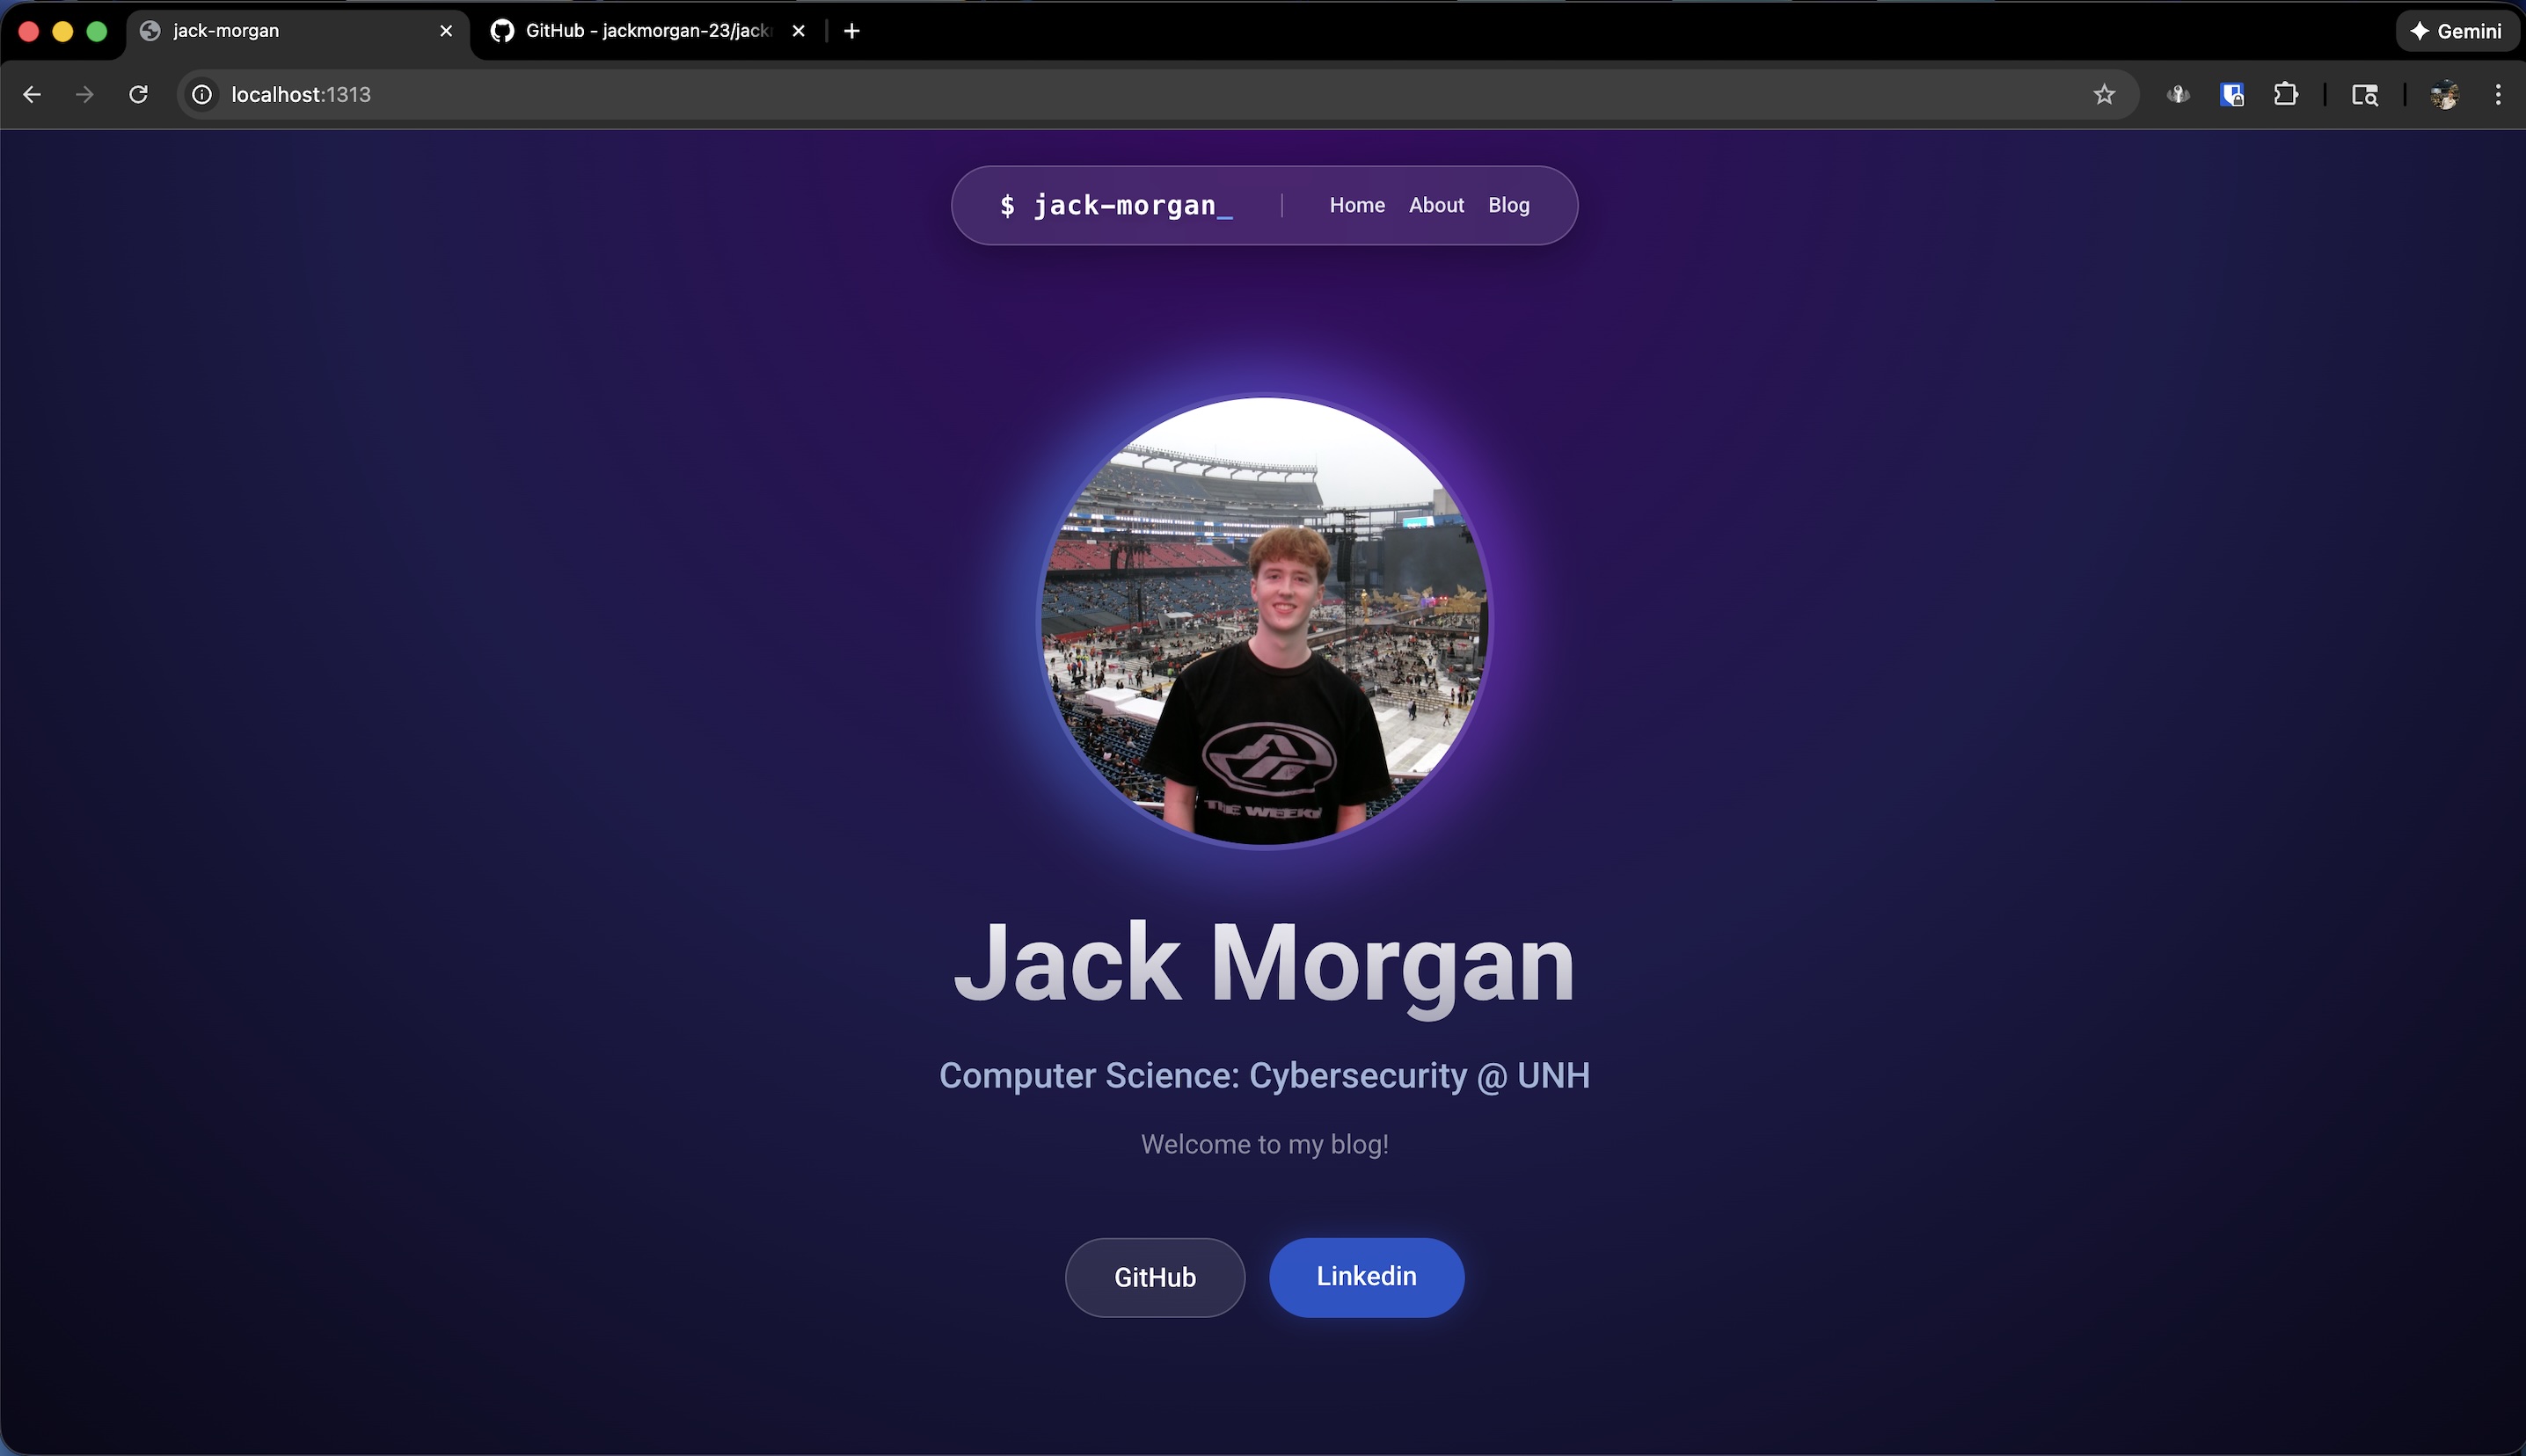
Homepage
The “homepage” is one of two unique pages on my site, the other being the “About” page. The rest fall into one of my default templates. I took the time to design this page first. Below is the HTML behind my full name when you first open the site.
<h1 class="text-5xl md:text-7xl font-bold bg-clip-text
          text-transparent bg-gradient-to-b from-white to-white/60 drop-shadow-sm py-2">
               Jack Morgan
           </h1>
Here, you can see my use of Tailwind’s “utility classes.” I can tweak the shadow amount, or add a text gradient right within my HTML code. I also am using md to specify design for smaller devices, like smartphones.
At this point, I felt like my site looked a little too generic. I wanted to come up with something that steered the design to feel more personal and authentic. I had the idea of making my name in the nav bar a “live terminal.” As the user browses the site, someone keeps changing the text! Well, unfortunately that someone had to be a script.
Introducing JavaScript (and all the security nightmares that can come with it)
My only prior introduction to JavaScript was in a lecture on XSS vulnerabilities. So, I was a little hesitant to touch this with a 10 foot pole.
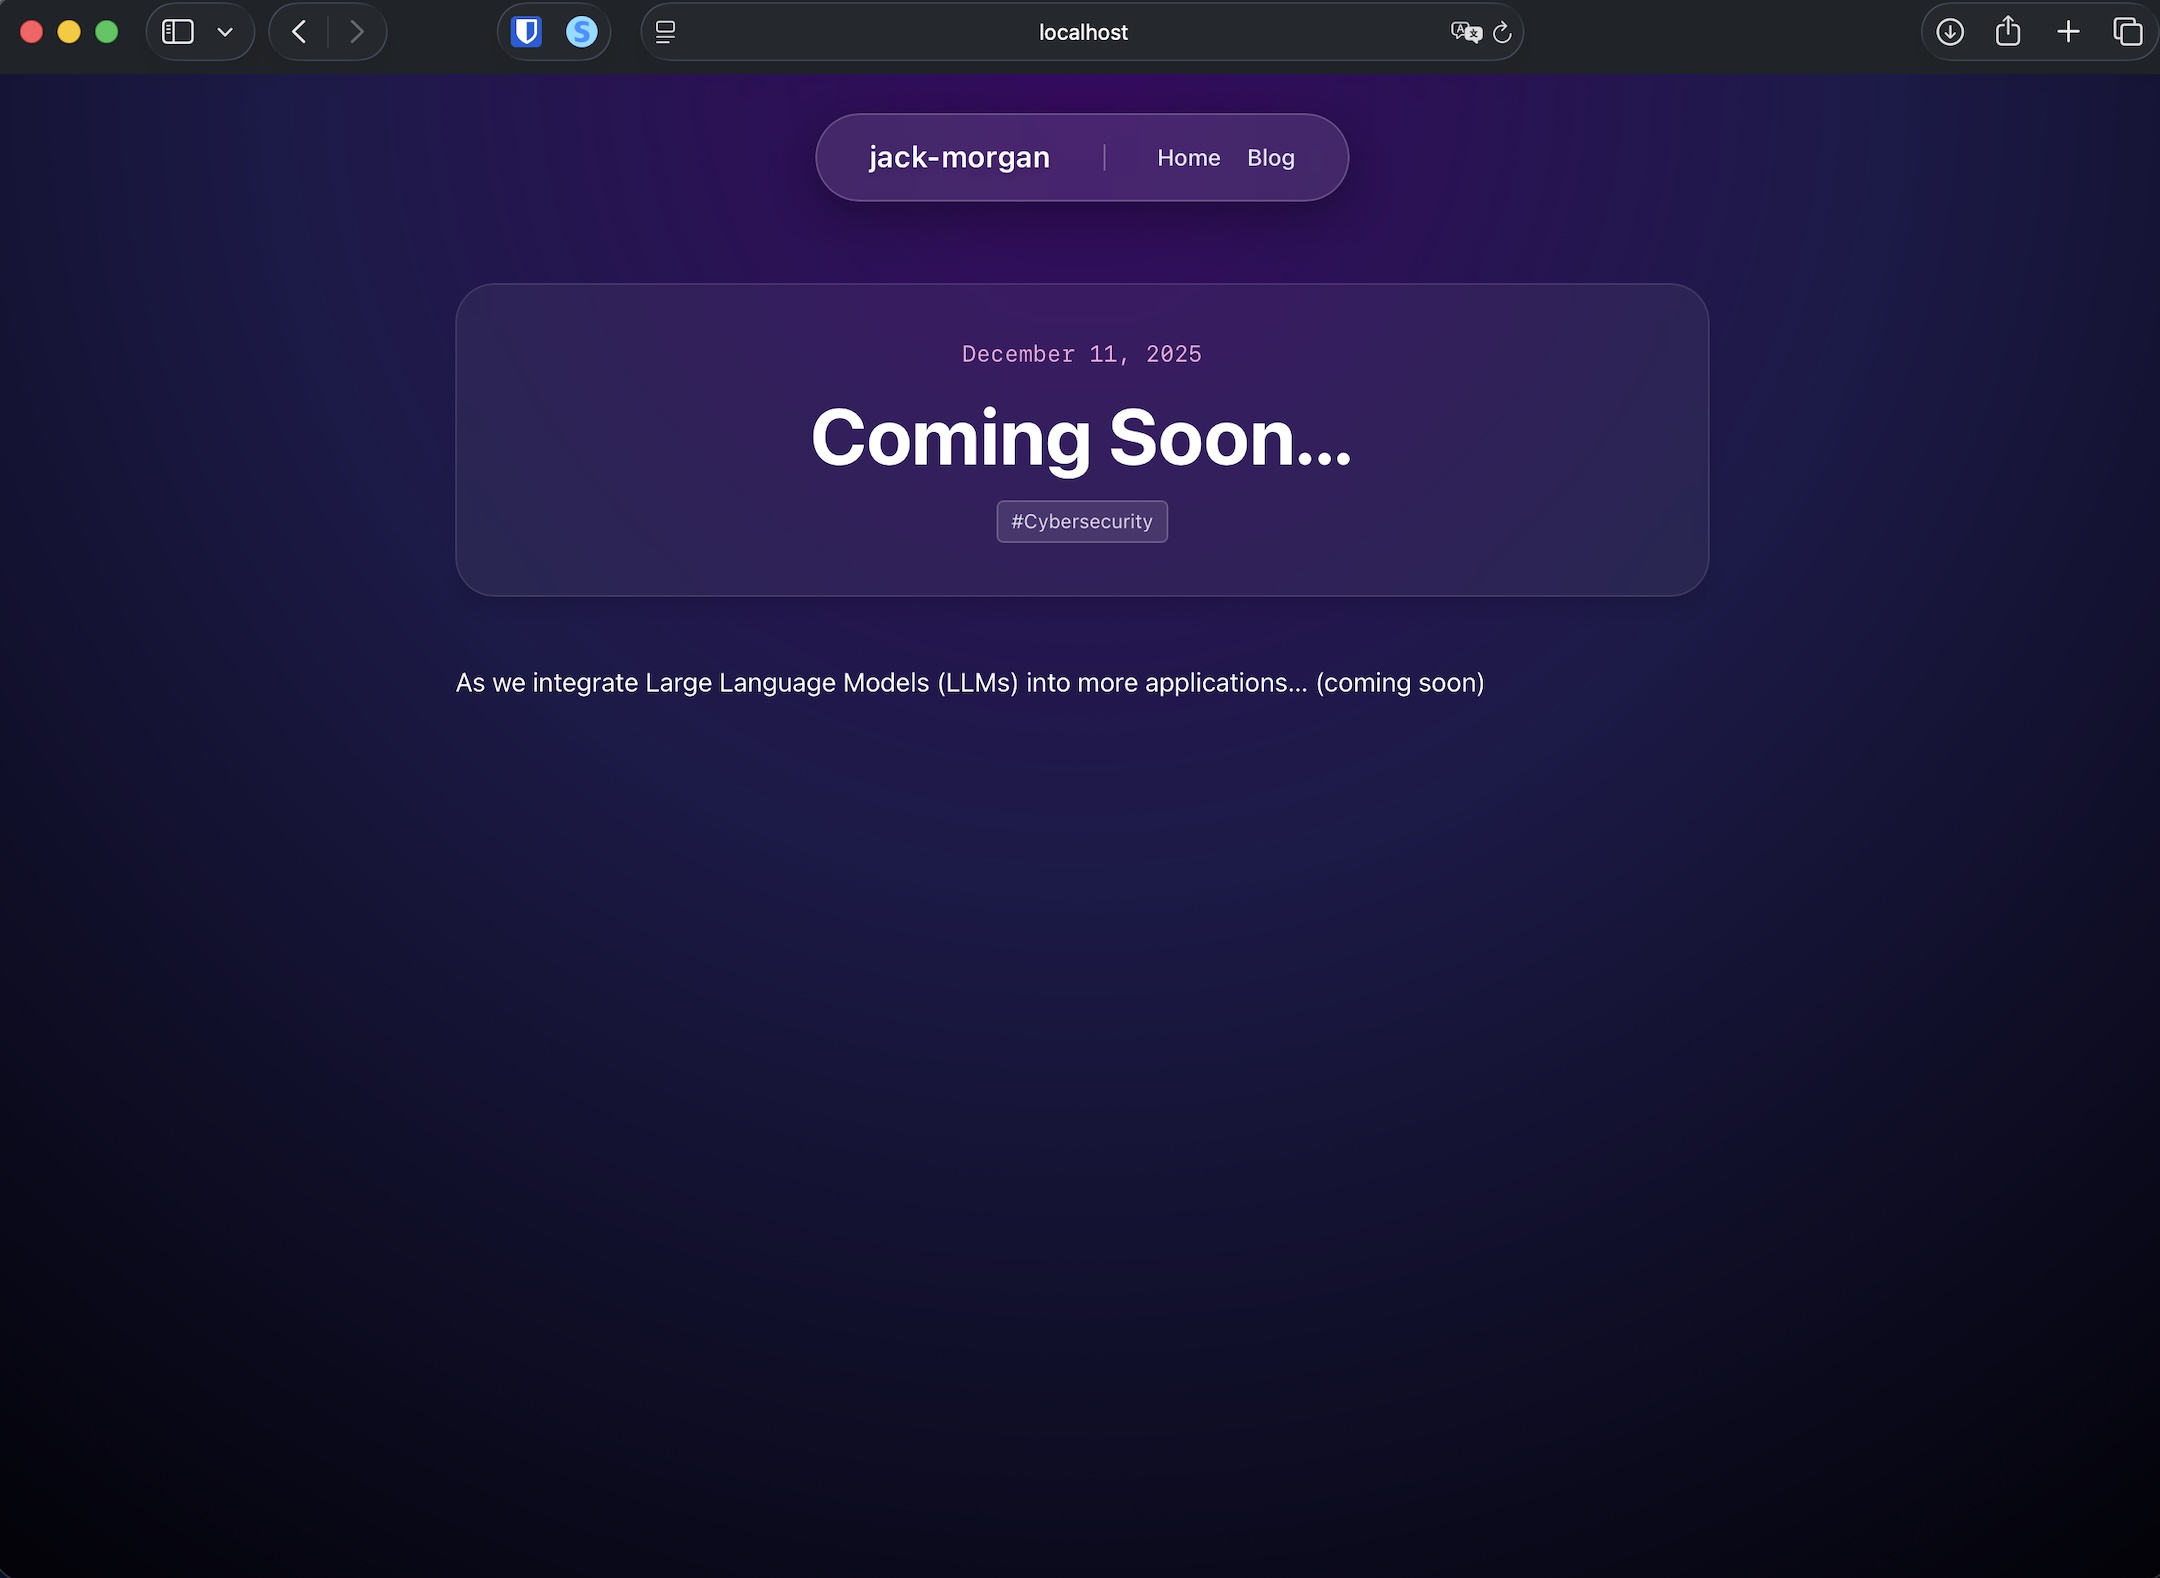
Luckily, XSS does not really apply here, since this is a static site. I also used a little JS to implement the search functionality of my blog posts. As I am writing content in Markdown, I am able to add header information where I can tag posts under topics.
---
title: "Coming Soon..."
date: 2025-12-11T16:00:00-05:00
draft: false
tags: ["Cybersecurity"]
summary: "A sample post to make sure this is working!"
---
I also used a JavaScript library called HTMX, which is meant to be a lightweight competitor to libraries like React. HTMX allowed my site to behave as if it were one single page. When you click on different pages of the site, only certain blocks of the HTML are swapped out. The navbar, for example, never gets swapped out to avoid resetting the animation. This all happens without me creating a backend.
I might go more in depth in a later post, but I will spare the details of this for now.
Deployment:
Deployment was very, very simple! I purchased my domain using Namecheap, and this site is hosted for free using Netify. The documentation for Netify is great, and I highly recommend them for beginners like myself. The only lifting you need to do as a developer is add the Nameservers provided by Netify to your host’s DNS configuration. This can vary from service to service but I found Namecheap’s process was pretty straightforward.
The result:
What you are visiting now is the result! After deployment I made a few more bug fixes, like optimizing the design on mobile devices. Now, I am in the process of designing an experiment to see if I can trick GenAI into giving away secrets it shouldn’t be sharing. If you have my contact information, I’d love to hear your feedback about the site! Thank you for reading and happy holidays!